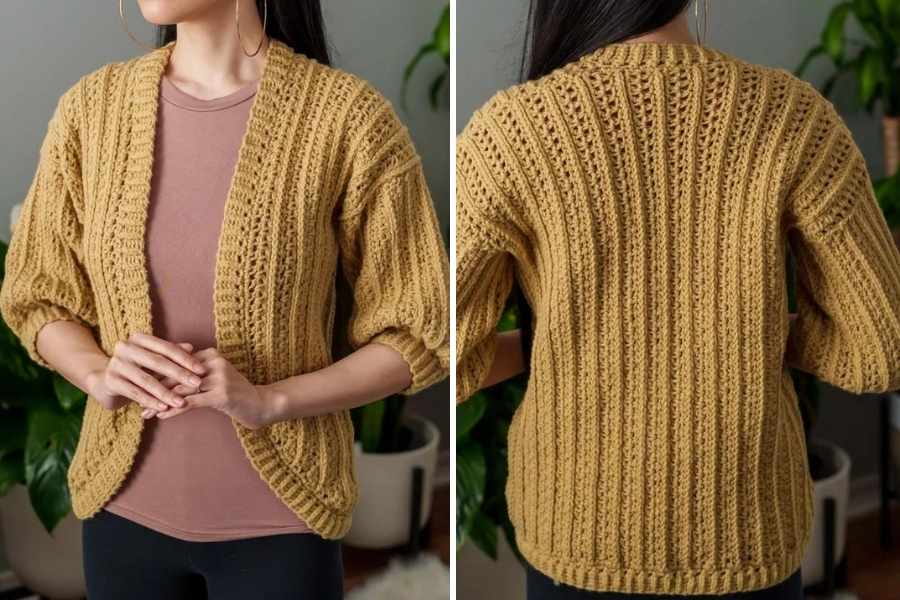
Crocheting your first cardigan might sound intimidating, but it doesn’t have to be! With basic stitches and a simple construction made from rectangles, you can create a cozy, custom-fit cardigan that’s perfect for layering. This project is ideal for beginners ready to move beyond scarves and into wearable crochet.
🧶 Materials Needed
- Worsted weight yarn (approx. 800–1200 yards, depending on size)
- 5.0 mm (H-8) crochet hook
- Yarn needle
- Scissors
- Stitch markers
- Measuring tape

🪡 Step-by-Step Instructions
Step 1: Measure and Plan
- Measure the widest part of your bust.
- Add 4–6 inches for comfort and ease.
- You’ll make 3 main rectangles: one back panel and two front panels.
Step 2: Crochet the Back Panel
- Chain the width of your desired back panel (usually half your bust + 2–3 inches).
- Row 1: Double crochet (DC) in the 4th chain from hook and across.
- Row 2 and beyond: Chain 2 (counts as first DC), turn, and DC across.
- Repeat until it reaches your desired length (usually from shoulder to hip).
Step 3: Crochet the Front Panels (Make 2)
- Chain half the width of the back panel.
- Repeat the same DC rows as the back panel until they match in length.
- These will be sewn to the back panel to create the body of the cardigan.
Step 4: Assemble the Body
- Lay the back panel flat.
- Align one front panel along the left edge and the other on the right edge.
- Use a yarn needle to sew the shoulder seams together (about 4–6 inches from each side).
- Sew the side seams, leaving armholes open (usually 7–9 inches from the shoulder down).
Step 5: Add Sleeves (Optional but recommended)
- Attach yarn to the armhole and single crochet around to create a base round.
- Work in double crochet rounds, decreasing slightly toward the wrist.
- Continue until your sleeve reaches the desired length (short, ¾, or full-length).
- Repeat for the second sleeve.
Step 6: Finishing Touches
- Add a border around the cardigan with 1–2 rows of single crochet for a clean look.
- You can also add buttons, a belt, or a ribbed trim for extra detail.
✅ Conclusion
Making your own simple crochet cardigan is easier than it looks! With just rectangles and basic stitches, you can create a beautiful, comfy layering piece tailored to your size and style. Once you’ve finished one, you’ll want to make more — in different colors, yarns, and sleeve styles. It’s a perfect next step for beginner crocheters looking to dive into garment-making.
Source:TCDDIY