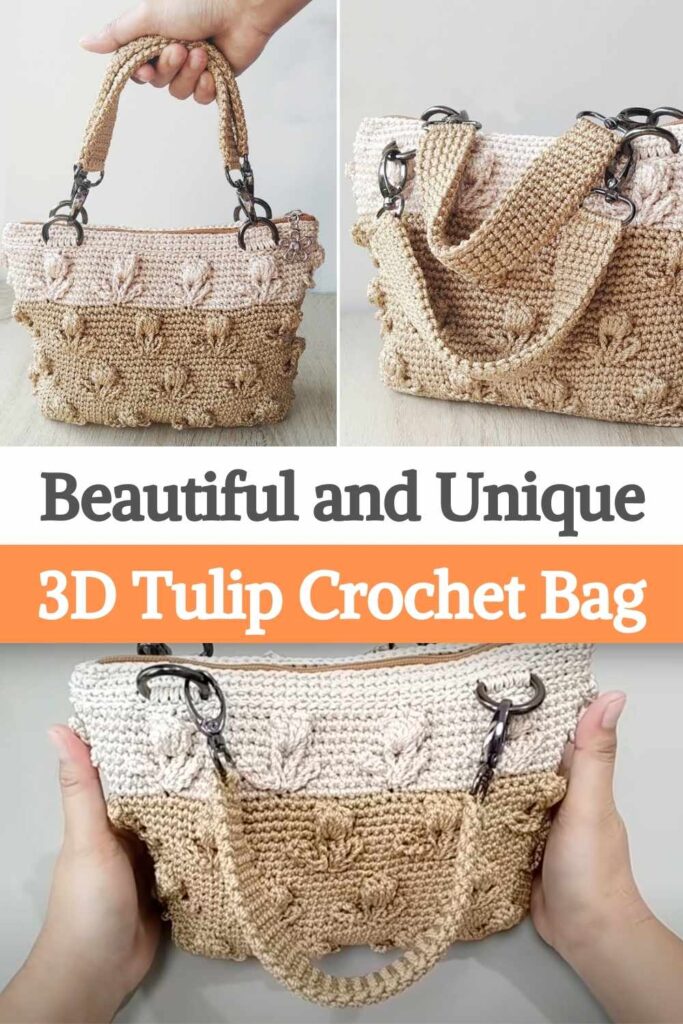
🧶 1. Introduction
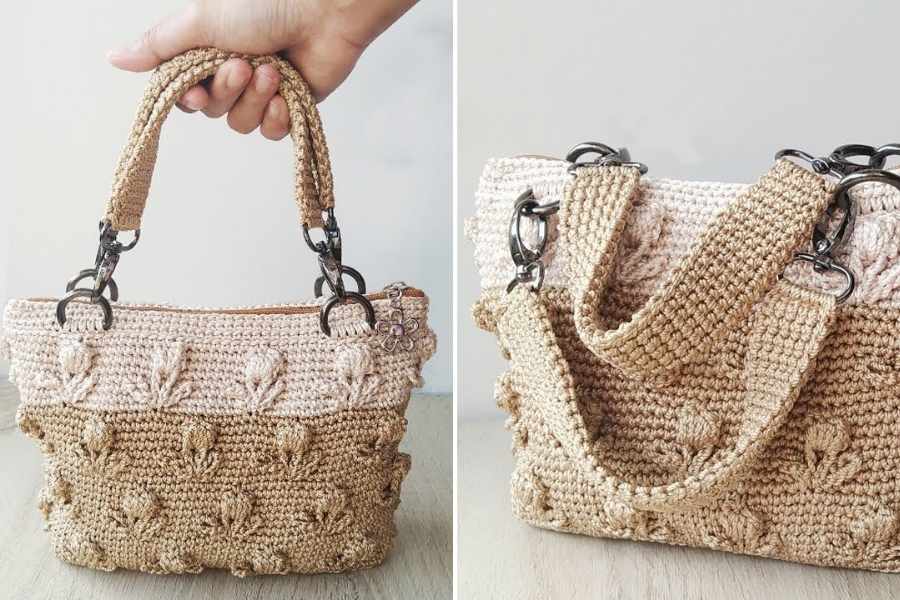
If you love floral designs, this 3D Tulip Crochet Bag will bloom right into your heart 💗. With raised tulip stitches and a sturdy structure, it’s both fashionable and functional. Whether for spring outings, gifting, or market days — this bag is sure to impress.
🧵 2. Materials Needed
- Worsted weight cotton yarn in green (for stems), pink/purple/yellow (for tulips), and a background color
- 4.0 mm – 5.0 mm crochet hook
- Yarn needle
- Stitch markers
- Lining fabric (optional)
- Magnetic snap or zipper (optional)
- Scissors
- Optional: Bag handles or strap hardware
✨ Stitches Used:
- Chain (ch)
- Single Crochet (sc)
- Double Crochet (dc)
- Front Post Double Crochet (fpdc)
- Tulip Stitch (uses post stitches and layered petals)
🌼 3. Pattern Structure
This bag is usually worked in panels (front and back), or as a continuous round — depending on style.
| Section | Details |
|---|---|
| Body | Tulip pattern rows + background |
| Bottom | Flat or rounded |
| Handles | Crochet or attached |
| Lining | Optional, for added structure |
🪻 4. Step-by-Step Instructions
🌱 Step 1: Start with the Base
- Ch 35–45 (depending on size)
- sc across for 4–5 rows to create a sturdy base
- Optional: Create a rounded bottom by increasing at each end
🌷 Step 2: Crochet the 3D Tulips
Tulip Stitch Row:
- Begin with a row of sc or dc
- In the next row: use fpdc or puff stitch to create “stems”
- Add petals by working clusters around post stitches
- Repeat pattern every 3–4 rows for vertical tulips
✔ Tip: Alternate tulip colors for a fun garden effect!
👜 Step 3: Build the Bag Upwards
- Continue with background stitches (sc/dc) between tulip rows
- Make the bag 10–12 inches tall, or as preferred
- Optional: Finish with a few rows of tight sc for a clean top edge
🧵 Step 4: Add Lining & Closure (Optional)
- Cut fabric slightly smaller than the bag interior
- Sew sides, fold top edge, and hand-stitch into bag
- Add zipper or magnetic snap for closure
🪡 Step 5: Attach Handles
- Crochet strap: ch 80–100, sc or hdc 2–3 rows
- Or attach pre-made handles using D-rings or loops
- Secure firmly to avoid stretch or breakage
🎀 Step 6: Decorative Touches
- Add a small tulip charm or tag
- Attach a leaf or mini flower to the handle
- Make a matching coin pouch or mini clutch!
✅ 5. Conclusion
Your 3D Tulip Crochet Bag is complete — textured, blooming, and absolutely unique! 🌷✨
This project is perfect for advanced beginners to intermediate crocheters who want a bag that turns heads.
Pattern and tutorial by Febe Andrian Crochet