🧶 1. Introduction
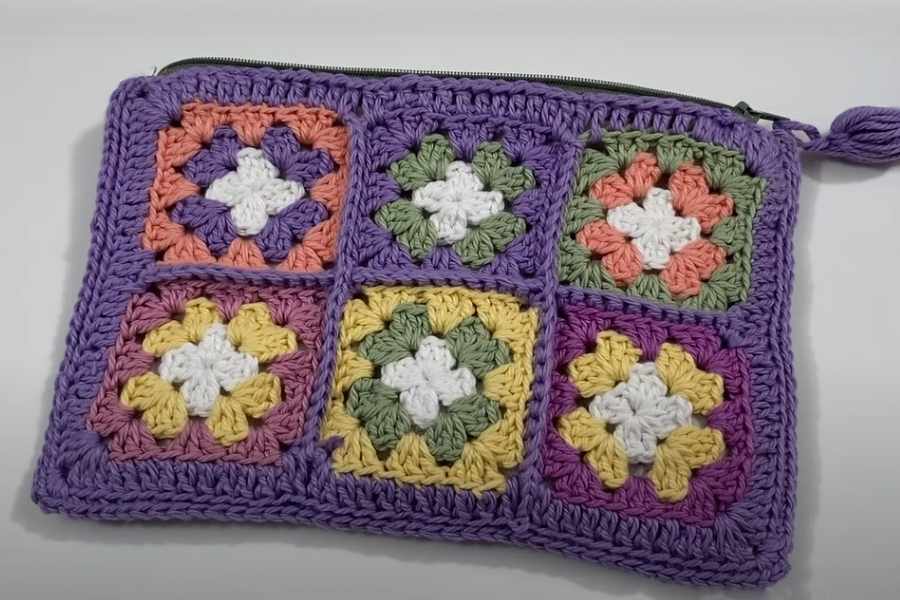
Looking for a functional and elegant pouch? This crochet zipper pouch is perfect for organizing makeup, stationery, small gadgets, or crochet tools. Adding a fabric lining and zipper gives it a polished, store-bought look — plus a tassel for flair!
📦 2. Materials Needed
- Worsted or DK weight yarn (cotton recommended)
- 4.0 mm or 4.5 mm crochet hook
- Yarn needle
- Fabric for lining
- Zipper (matching length to pouch width, e.g. 7″–9″)
- Sewing needle and thread or sewing machine
- Scissors
- Optional: cardboard for shaping, tassel maker or piece of cardboard
✨ Stitches Used:
- Chain (ch)
- Single Crochet (sc)
- Slip Stitch (sl st)
- Optional: Half Double Crochet (hdc) or texture stitch
✂️ 3. Pouch Design Overview
| Part | Notes |
|---|---|
| Shape | Rectangle or oval base, built flat |
| Size | ~8″ wide x 5″ tall (adjustable) |
| Lining | Fully sewn inside |
| Closure | Zipper across the top |
| Accent | Yarn tassel on zipper pull |
🧶 4. Step-by-Step Instructions
🟫 Step 1: Crochet the Base Panels
- Ch 31 (adjust for desired width)
- Row 1: sc in 2nd ch from hook, sc across
- Rows 2–30 (or to desired height): sc across
- Fasten off and make a second identical panel
🎨 Optional: Add stripes or textured rows using hdc or puff stitch
✨ Step 2: Sew or Attach Zipper
- Pin zipper to the top edge of both panels
- Sew in place using needle and thread or sewing machine
- Use small, even stitches
- Make sure zipper opens/closes smoothly
🧵 Step 3: Add Fabric Lining
- Cut fabric slightly smaller than crocheted panels
- Fold and sew edges to prevent fraying
- Hand sew or machine stitch lining inside each panel
- Align with zipper for a neat finish
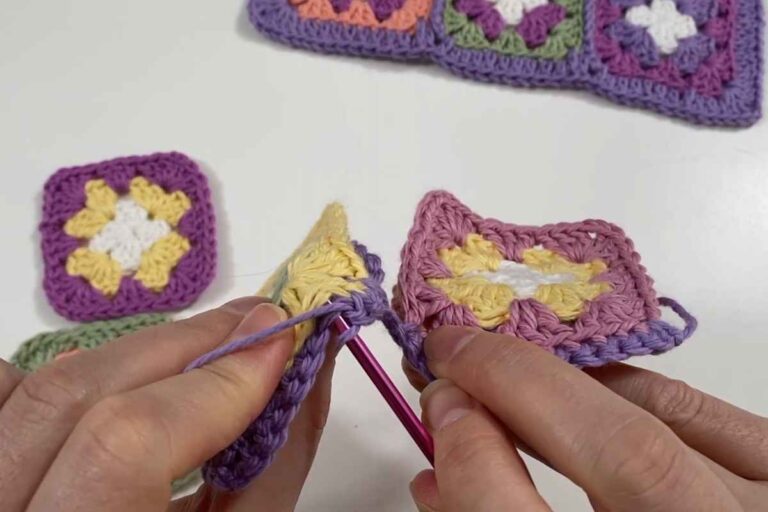
🧷 Step 4: Join the Panels
- Place panels wrong sides together
- Use sc or sl st to join 3 sides (leave zipper edge open)
- Turn pouch right-side out
🟢 Tip: Add a row of sc or crab stitch around the edges for strength
🎀 Step 5: Make a Yarn Tassel (Optional)
- Wrap yarn around cardboard (~20–30 times)
- Tie top, cut bottom
- Wrap and secure a small strand around the “neck”
- Trim and attach to zipper pull
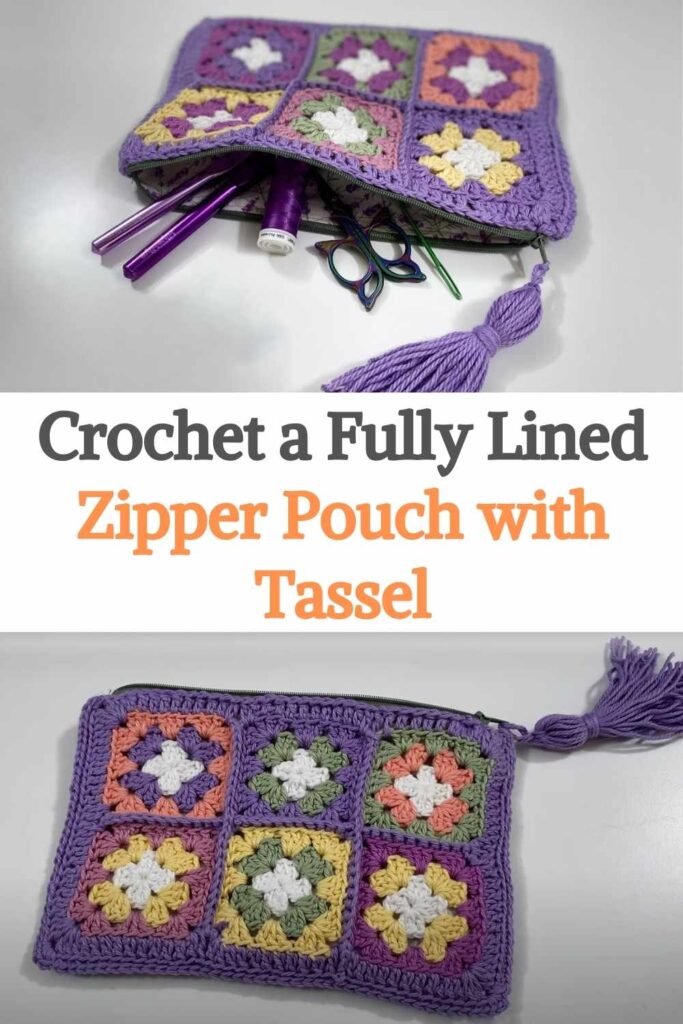
✅ 5. Conclusion
Your Fully Lined Crochet Zipper Pouch with Tassel is finished! 🧶✨
Functional, cute, and classy — perfect for gifting or everyday use. Try different sizes or add inner pockets for extra versatility.
Pattern and tutorial by Ophelia Talks Crochet