🧶 1. Introduction
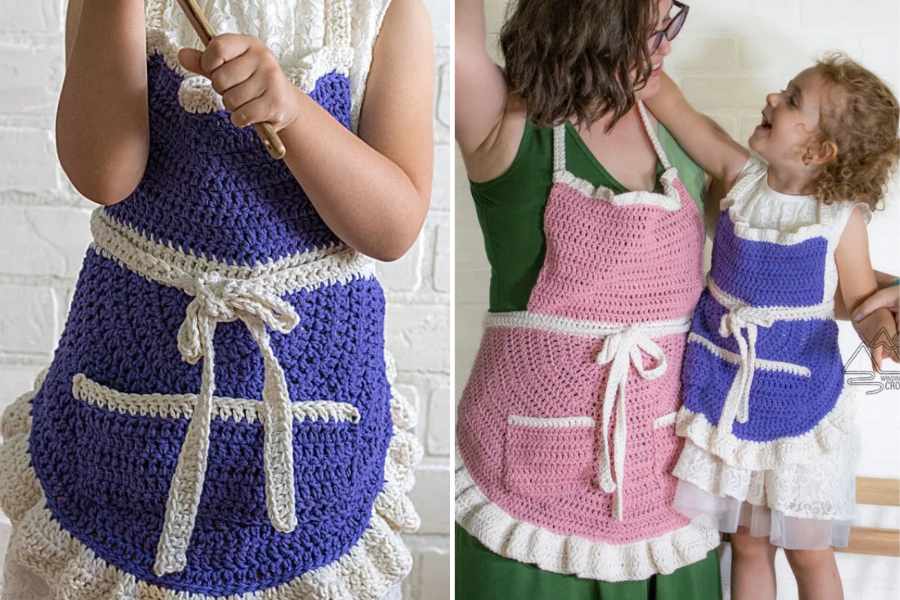
A crocheted apron with ruffles is a charming handmade project that’s both cute and useful. Whether you’re making it for yourself, a child, or as a thoughtful gift, the ruffled trim adds vintage flair while keeping things playful and elegant.
🧵 2. Materials Needed
- Worsted weight cotton yarn (for durability and easy washing)
- 4.0 mm or 4.5 mm crochet hook
- Yarn needle
- Scissors
- Stitch markers (optional)
🌸 Stitches used:
- Chain (ch)
- Single Crochet (sc)
- Half Double Crochet (hdc)
- Double Crochet (dc)
- Slip Stitch (sl st)
- Shell Stitch or ruffle pattern (for edge)
📏 3. Basic Structure
- Apron panel: Rectangular base for the body
- Waistband: Long strip to tie around the waist
- Ruffle trim: Crocheted around the bottom and sides
- Optional pocket: A small square or heart sewn to the front
🪡 4. Step-by-Step Instructions
🧺 Step 1: Apron Body (Adjust size as needed)
- Ch 61 (or to desired width)
- Row 1: hdc in 2nd ch from hook, hdc across
- Rows 2–24: ch 1, turn, hdc across You can make it longer for a full-length apron or shorter for waist-style
🎀 Step 2: Waistband and Ties
- Ch 100–120 (this will form one long tie)
- sc across, including the top of the apron panel
- Optional: make ties separately and sew to each side of the apron top
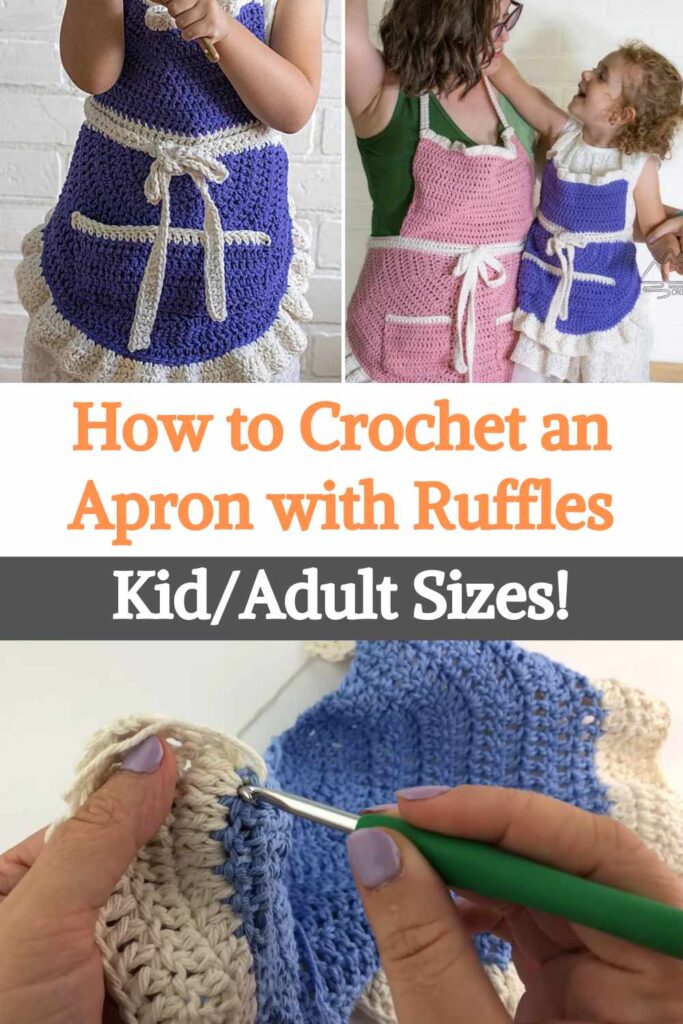
🌼 Step 3: Ruffled Trim
- Join yarn at one bottom corner
- Work shell stitch or ruffle pattern along the bottom edge:
- Example: (2 dc, ch 1, 2 dc) in same stitch, skip 1–2 sts, repeat
- Continue around sides for a full ruffled border
- Fasten off and weave in ends
🧤 Step 4: Add Optional Pocket
- Ch 11, work 10 rows of hdc
- Fasten off and sew to the center of the apron
- You can decorate the pocket with flowers, bows, or embroidery
✅ 5. Conclusion
Your ruffled crochet apron is complete! 🎉
It’s a cozy blend of cuteness and utility — perfect for baking days, gifts, or just adding handmade charm to your kitchen routine.
Pattern and tutorial by Winding Road Crochet