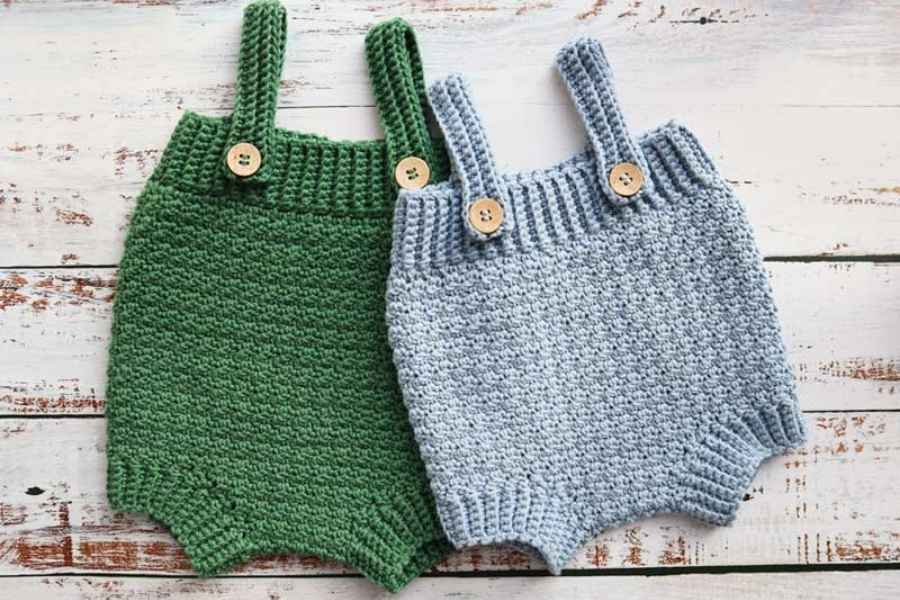
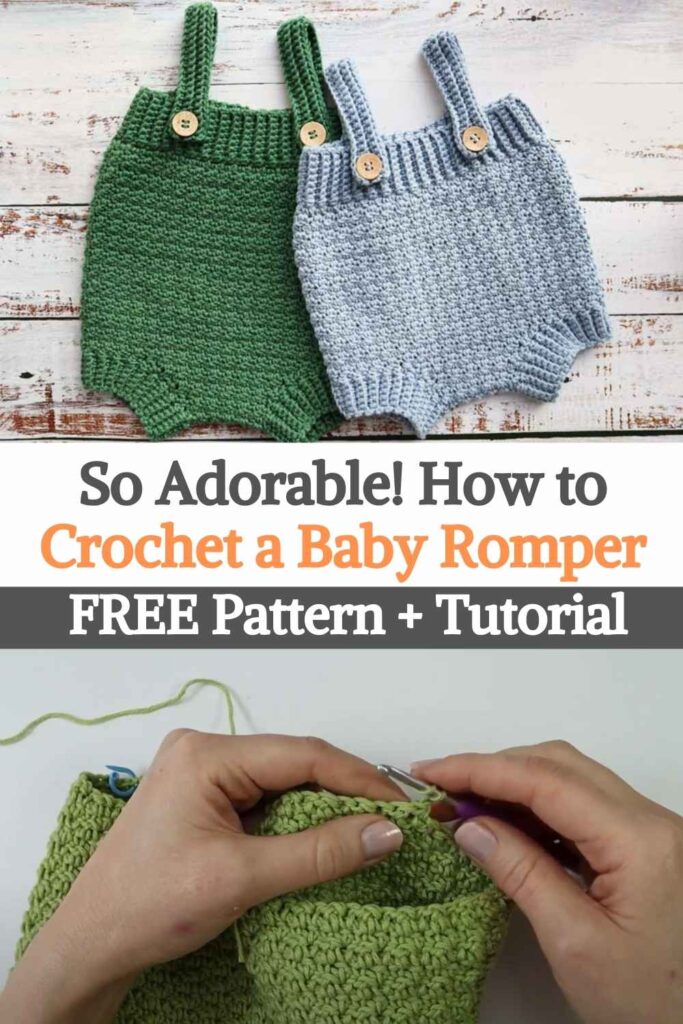
A crocheted baby romper is an adorable and practical garment for babies, perfect for gifting or personal use. It’s a one-piece outfit that typically includes buttoned straps, a comfortable body, and leg openings. With simple stitches and soft yarn, this project is suitable for adventurous beginners or intermediate crocheters.
🧵 Materials
- Soft baby yarn (DK or worsted weight; cotton or cotton-blend recommended)
- Crochet hook (usually 3.5 mm – 4.5 mm, depending on yarn)
- Yarn needle (for weaving in ends)
- Stitch markers
- Buttons (2–4, baby-safe)
- Scissors
- Measuring tape
Optional: Snap fasteners for the crotch area
🔁 Process
1. Crochet the Bottom Part (Diaper Cover Style)
- Begin by working a foundation chain that matches the baby’s waist width.
- Crochet in rows using basic stitches like half double crochet (hdc) or double crochet (dc) to form the back and front panels.
- Shape the leg openings by decreasing rows as you approach the crotch area.
- Use stitch markers to maintain symmetry.
2. Build the Upper Body & Straps
- Once the bottom is complete, continue upward with the body portion.
- Add 2 shoulder straps by chaining and working rows of single crochet (sc) or hdc.
- Make buttonholes or simply sew the straps onto the back with buttons.
3. Add Finishing Touches
- Crochet a neat border around the leg openings and straps using single crochet.
- Add buttons or snaps at the crotch and on the straps.
- Weave in all ends and gently block to shape.
🎀 Conclusion
Crocheting a baby romper is a fun and rewarding project that results in a cute, functional outfit. It allows for customization with colors, stitch patterns, and embellishments like bows or edging. With basic shaping and construction techniques, you can easily make a romper that’s both stylish and comfortable for any little one.
Images and pattern courtesy of Adore Crea Crochet