🧶 1. Introduction
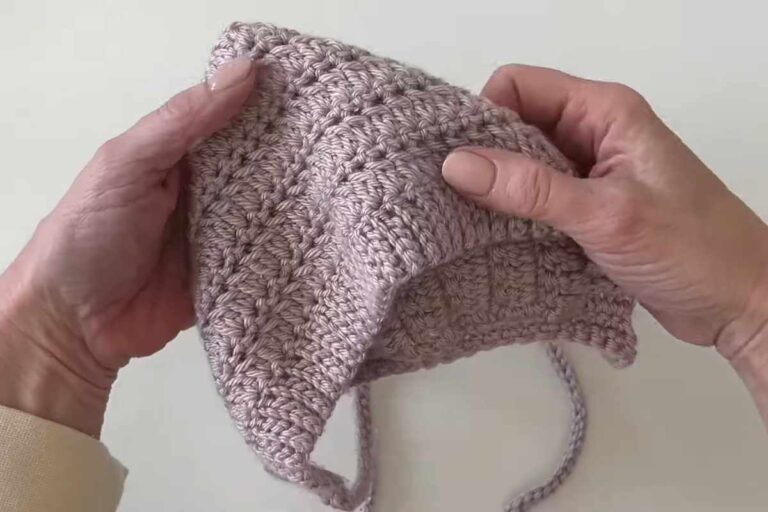
This cozy baby bonnet uses the cluster stitch, which creates a soft, bumpy texture ideal for baby items. It’s worked flat and then seamed in the back, with added ties for a secure fit. It’s perfect for beginners with some basic stitch knowledge!

🧵 2. Materials Needed
- DK or light worsted weight yarn (100g is plenty for a newborn size)
- 4.0 mm crochet hook
- Yarn needle
- Scissors
- Measuring tape
🧸 Stitches used:
- Chain (ch)
- Single Crochet (sc)
- Double Crochet (dc)
- Cluster Stitch (explained below)
✨ Cluster Stitch Explained
DC 3-Cluster:
- Yarn over, insert hook, pull up loop, yarn over and pull through 2 — repeat 3 times, all in the same stitch
- Then yarn over and pull through all loops on the hook
📌 3. Pattern Notes
- Bonnet is made in rows — starting from the base of the neck upward over the crown
- Then seamed at the back and edged with simple stitches
- Ties are crocheted chains or braided yarn
🧶 4. Step-by-Step Instructions
👒 Step 1: Main Bonnet Body
- Ch 36 (adjust for newborn sizing; approx. 12″ wide)
- Row 1: SC in 2nd ch from hook and across (35 sts), ch 1, turn
- Row 2: (SC in first st, cluster in next) repeat across
- Row 3: SC across
- Repeat Rows 2–3 until bonnet measures approx. 5.5″ tall (around 10–12 rows total)
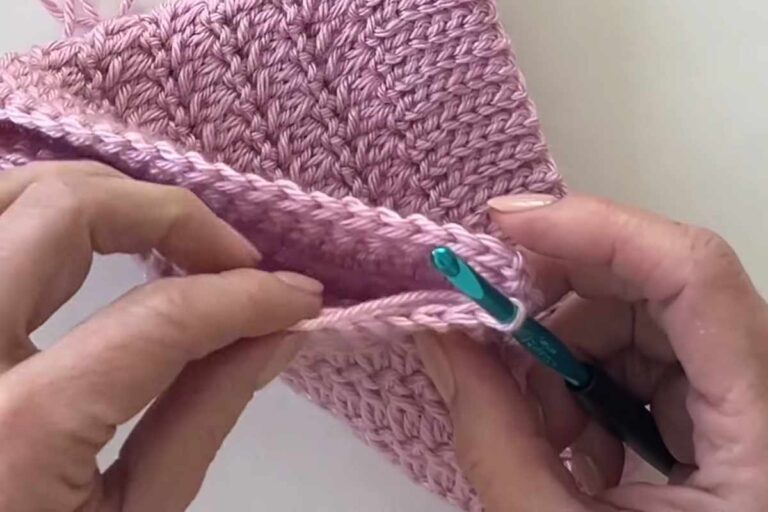
🪡 Step 2: Shaping and Seaming
- Fold the rectangle in half (matching the short sides)
- Use SC or whip stitch to seam along the back (the crown of the head)
- Fasten off and weave in ends
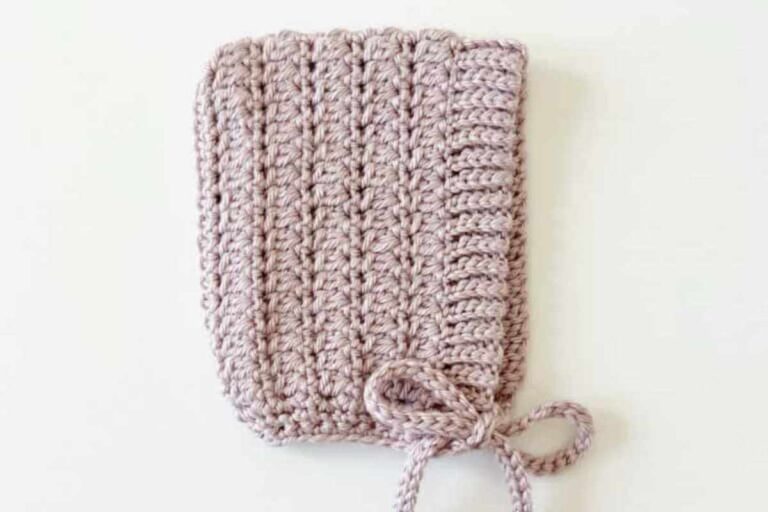
🎀 Step 3: Add Edging and Ties
- Attach yarn to the front edge of the bonnet
- SC evenly around the face opening for a neat finish
- For ties:
- Chain 30–40 (or desired length)
- Slip stitch back along the chain
- Make 1 tie on each bottom front corner of the bonnet
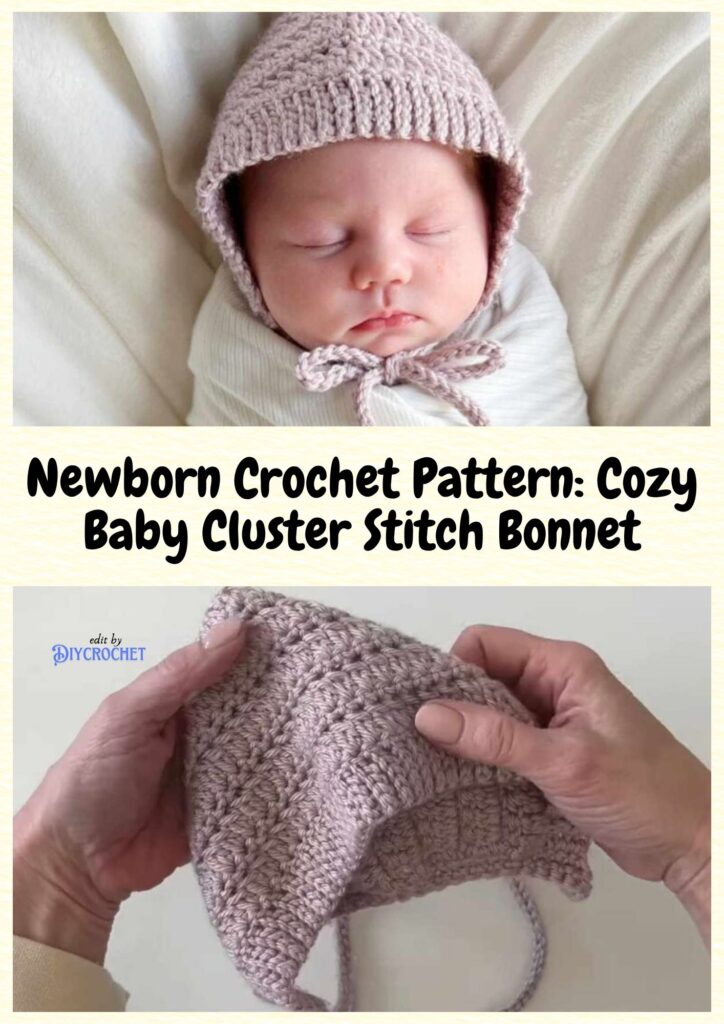
✅ 5. Conclusion
Your Cozy Cluster Stitch Baby Bonnet is complete! 🧶👶
It’s textured, snug, and soft — perfect for a newborn photoshoot or a handmade gift. You can make it in any color and even add a matching pair of booties or a cardigan.
Pattern and tutorial by Daisy Farm Crafts