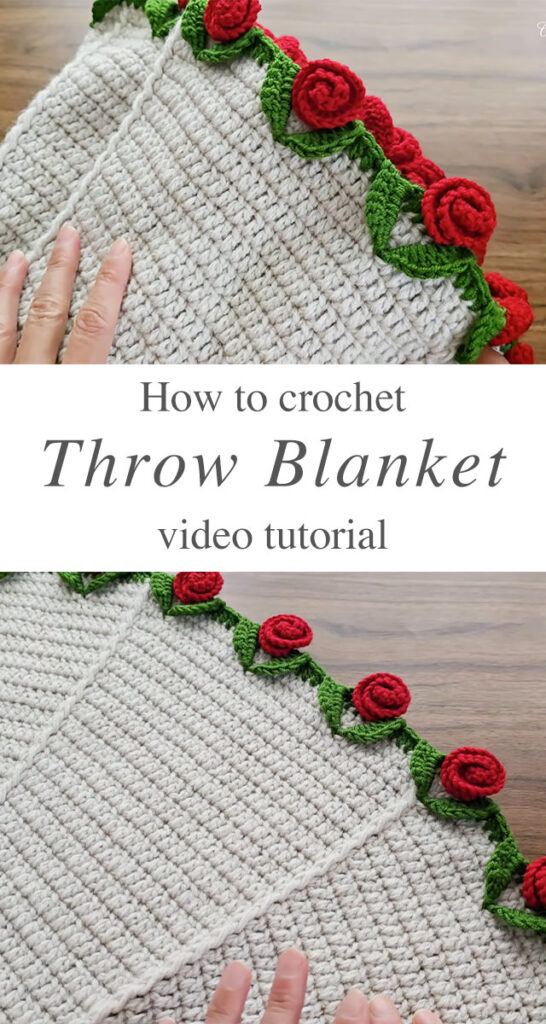
Nothing embodies the allure of handmade elegance quite like a crochet throw blanket. Pair it with a graceful rose edging, and you’ve created a true masterpiece — both practical and stunning.

The Beauty Behind the Crochet Throw Blanket
A crochet throw blanket is more than just a cozy addition to your home — it’s a heartfelt expression of warmth, care, and craftsmanship. Lightweight yet wonderfully insulating, these blankets are ideal for draping over a sofa, armchair, or the foot of your bed. Adding rose edging elevates the design, infusing it with intricate artistry and a timeless, romantic charm. This particular creation stands out for its harmonious blend of simplicity and detail, pairing a clean, understated body with a bold, textured border. The result is a stunning effect, where the rose embellishments bloom like a vibrant garland of red flowers intertwined with delicate green vines.
Drawing inspiration from this charming rose-edged blanket tutorial, we’ll guide you step-by-step in creating your very own crochet throw blanket with elegant rose detailing. From choosing the perfect yarn to mastering the finishing touches, get ready to craft a cozy masterpiece that’s as stylish as it is warm.

Materials
The foundation of your crochet throw blanket’s success lies in the materials you select. In the video tutorial, a neutral beige yarn sets the stage — a perfect backdrop to make the rose trim stand out. For the main body, opt for a medium-weight (worsted or aran) yarn in soft acrylic, cotton, or a blend. Shades like beige, cream, or soft grey complement the design beautifully. To create a striking edge, use vibrant red yarn for the roses and a deep green for the leafy vine. Prioritize yarns with excellent stitch definition to highlight the spiral detail in the roses. Typically, a 4.5 mm crochet hook pairs well with worsted yarn, but always refer to the yarn label for specific guidance. For a softer drape, consider going up half a hook size. Additional tools include a tapestry needle for weaving in ends, scissors, and optional stitch markers to help position the edging accurately.

Crafting the Base: Rows of Comfort
The throw blanket featured in the tutorial is created with rows of basic crochet stitches, most commonly double crochet (dc) in U.S. terms. This stitch pattern strikes the perfect balance, offering a dense yet flexible texture that provides warmth without adding unnecessary bulk.
Begin by creating a foundation chain to achieve your desired width, typically between 120 and 150 chains for a standard throw. Continue working in rows with your selected stitch pattern until the piece measures your preferred length, usually around 50 to 60 inches.
Here’s a helpful tip: Regularly count your stitches to prevent unintentional slanting or narrowing. Additionally, blocking your finished piece prior to adding the edging can help smooth out any uneven areas.
Creating the Rose Edging: Petals and Vines
Now comes the magic — the rose edging. This whimsical addition transforms a standard crochet throw blanket into a blossoming masterpiece.
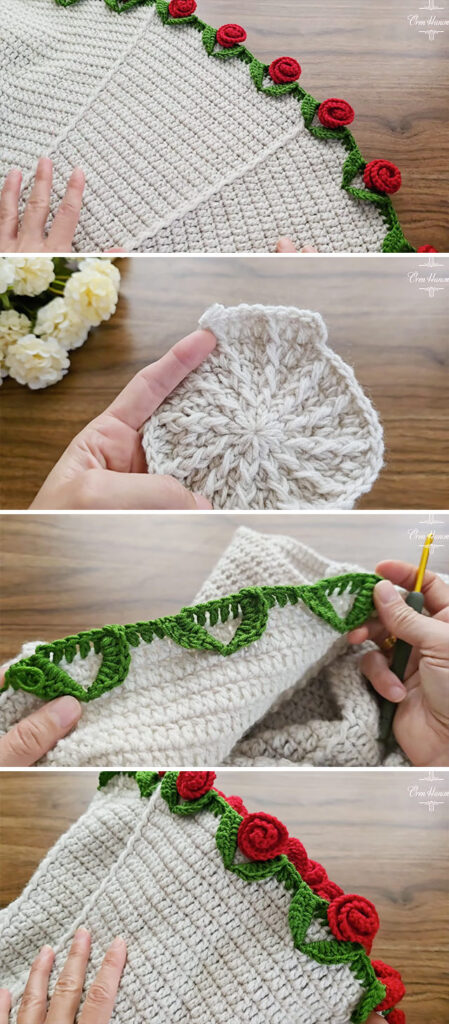
- Step 1: The Vine Border
First, create a green chain long enough to wrap around the edges of your blanket. Using single crochets, build up a base that resembles a twisting vine. Incorporate small leaves along the chain for added texture — these can be made using simple chain-picot combinations. - Step 2: Crochet the Roses
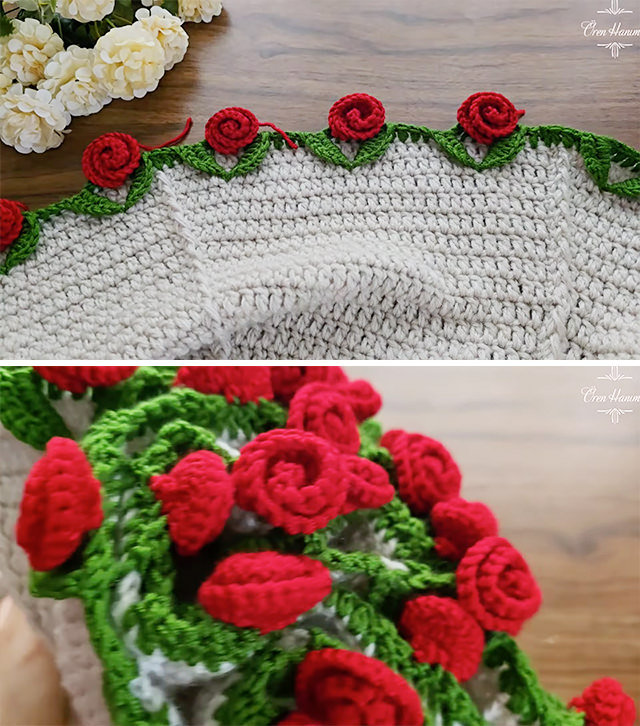
The roses are made by crocheting a long strip of half-double crochet stitches, then rolling the strip into a spiral to form the bloom. Sew the base of each rose securely to hold its shape. These roses are then sewn or crocheted onto the vine at regular intervals — ideally at each corner and evenly along the sides. - Step 3: Attach the Edging
You can sew the vine border directly onto the blanket using a whip stitch or crochet it into the edge with a slip stitch. The video shows the creator positioning each flower carefully to ensure symmetry, so take your time with placement.
Tips for Crochet Throw Blanket
- Weave ends as you go. With multiple color changes, it’s wise to tidy up tails after each section.
- Use blocking to shape. Light steam or wet blocking can help set the stitches and even out your roses.
- Customize the colors. Try a pastel theme for spring vibes or rich jewel tones for a luxurious look.
- Secure the roses well. Since they’re 3D and could snag, use tight stitching and reinforce them underneath.
Styling and Gifting Ideas
A crochet throw blanket with delicate rose edging is a versatile addition to any space. Drape it over a chair for a touch of vintage charm, layer it on a bed as an accent piece, or bring it along for a cozy picnic outing. It also makes a truly meaningful gift. Picture offering it at a bridal shower, celebrating a new baby, or welcoming someone to their new home. Handmade treasures like this exude warmth and care, with every stitch telling a story of love and thoughtfulness.
Pair it with a coordinating cushion or a charming rose-shaped sachet for an added touch of elegance. Consider creating smaller lap-sized versions as thoughtful donations to nursing homes or hospitals—a heartfelt gesture of comfort and care.
This crochet throw blanket is more than a craft — it’s a tribute to texture, color, and cozy charm. The delicate rose edging lends a touch of elegance, reminiscent of a magical garden. Perfect for seasoned crocheters or adventurous beginners, this project encourages you to unwind, stitch by stitch, and craft something truly memorable.
The joy of crochet is that you leave a little love in every stitch — and with this blooming beauty, you leave a trail of roses too.
Tutorial and photos of this crochet throw blanket by: Ören Hanım.