Welcome to the video, and thank you so much for joining us! Today, we’re excited to show you how to crochet a beautiful beanie hat using the puff stitch — a soft, textured stitch that adds both warmth and style. This project is perfect for anyone who loves cozy, handmade accessories, and it works up quickly, making it a great option for gifts or for selling at craft fairs. Whether you’re new to crochet or have some experience, you’ll enjoy creating this trendy and comfortable hat.
In this tutorial, we’ll take you step by step through the process of making your puff stitch beanie, starting with the foundation round and working our way up to the top. We’ll show you exactly how to make the puff stitch, explain how to maintain the right tension, and demonstrate how to shape the hat for a perfect fit. The pattern is simple to follow, and the results are always satisfying — soft, stretchy, and full of beautiful texture.
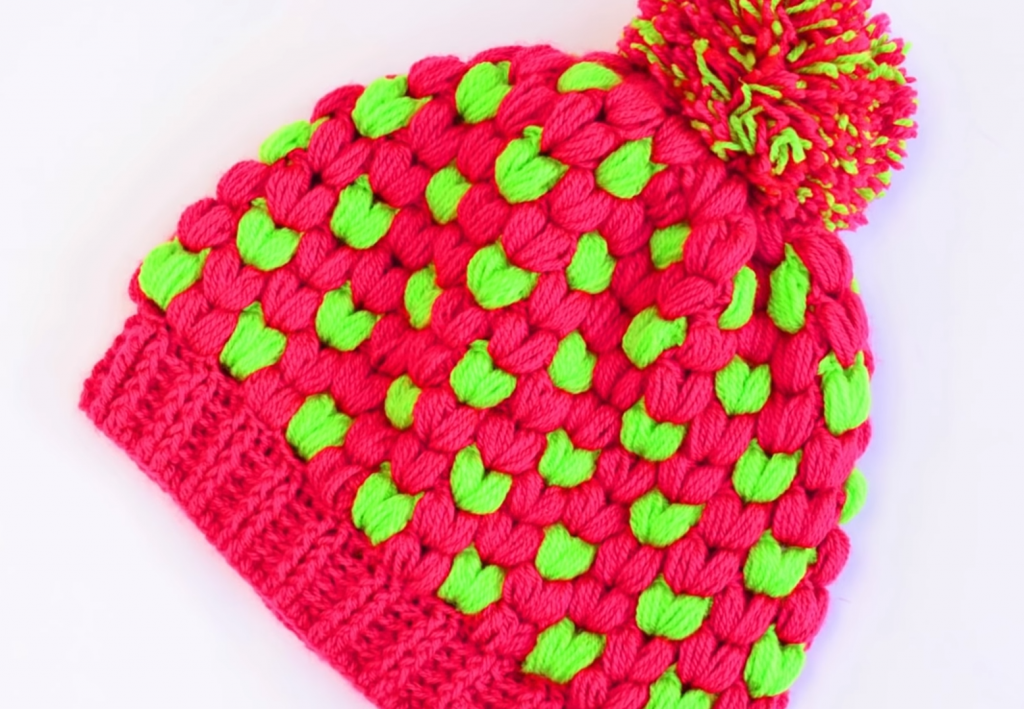
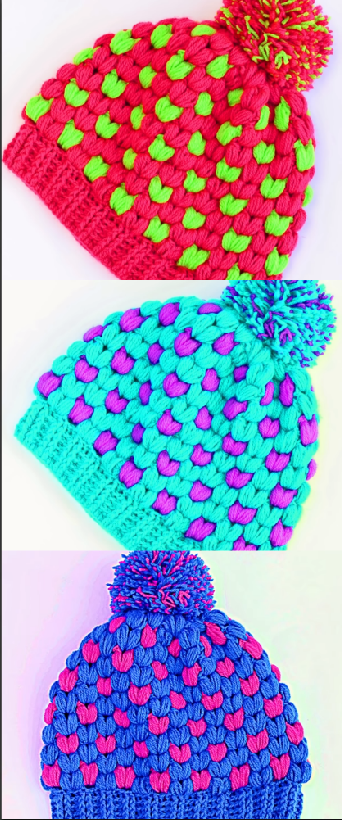
One of the great things about this puff stitch beanie is that it’s easy to customize. You can use any color combination you like, add a pom-pom to the top for extra flair, or adjust the size to fit babies, kids, or adults. It’s a versatile design that looks great with casual or cozy outfits and is sure to become a favorite in your handmade collection. Plus, it’s a great way to use up yarn from your stash!
So grab your yarn and hook, and let’s get started on this fun and cozy project. Remember, you can pause or rewind the video anytime you need to, and we’ll be right here to guide you through each step. If you enjoy this tutorial, please give it a thumbs up, subscribe to our channel, and turn on notifications so you don’t miss any of our upcoming crochet creations. Let’s crochet something beautiful together!
Tutorial and photos of this crochet blanket stitch by: Majovel crochet