Whether you’re a seasoned crocheter or just starting out, creating a stylish and practical crochet headband is a delightful project for all skill levels.
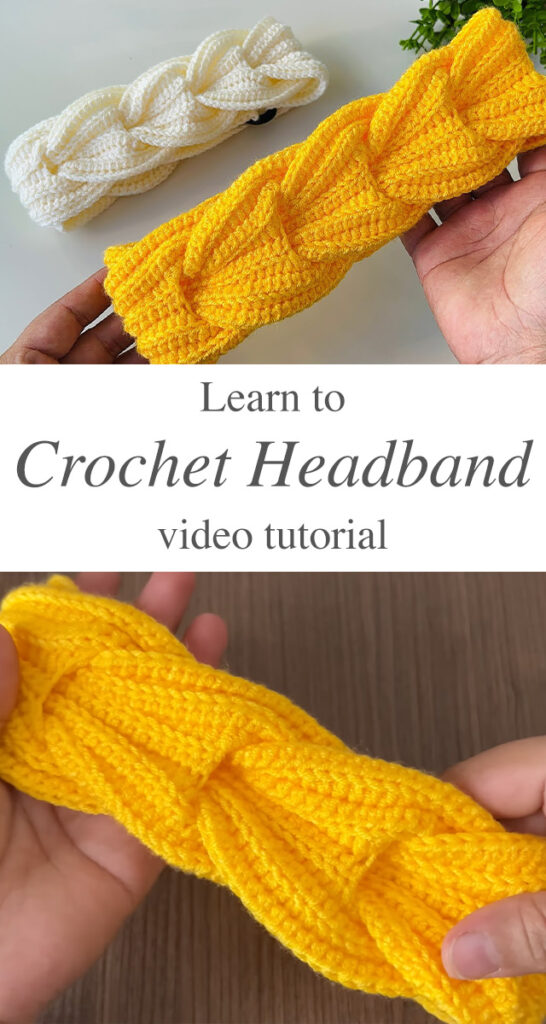
THE CROCHET EASY HEADBAND
Crafting a simple crochet headband is a delightful project that blends creativity with functionality. Perfect for beginners and experienced crocheters alike, this versatile accessory is a must-make. Stylish and practical, it’s ideal for keeping your ears warm during chilly months or adding a touch of flair to your outfit any time of year. Dive in to learn how to create your own crochet headband, complete with expert tips to ensure a polished and professional result.
Now that you know why this project is worthwhile, let’s dive into the process!
Materials You’ll Need
Before starting, make sure you have the following supplies ready: Opt for medium-weight yarn, as it’s ideal for headbands. Soft acrylic or cotton yarn is a great choice for added comfort. A 2.75mm crochet hook is typically recommended for this project. Don’t forget scissors for precise cuts and a tapestry needle to neatly weave in the yarn ends.
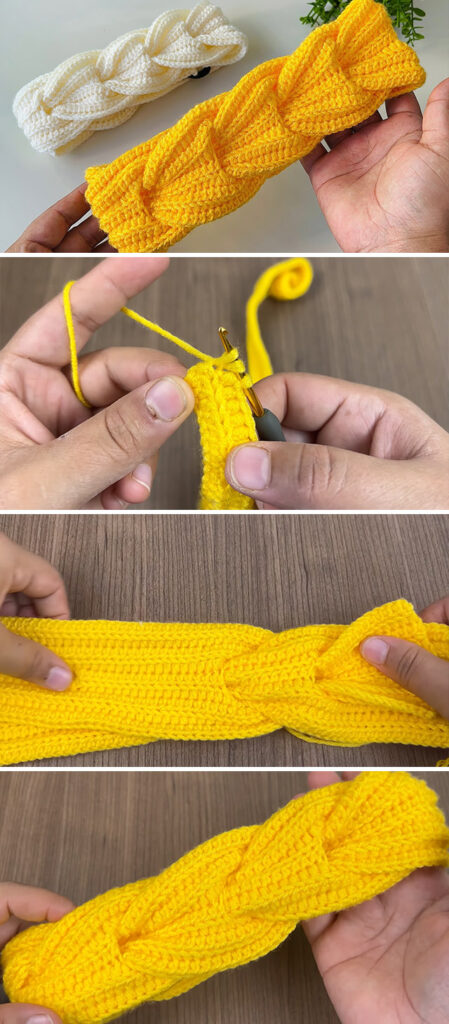
Step-by-Step Instructions
1. Create a Foundation Chain
Start by creating a foundation chain. This chain should be long enough to wrap comfortably around your head.
- For an adult-sized headband, chain approximately 60-65 stitches.
- Ensure the chain isn’t twisted before joining the ends with a slip stitch to form a circle.
2. Work the Base Rows
Once the foundation chain is ready:
- Crochet a row of double crochet stitches (dc) across.
- Join the row with a slip stitch.
- Repeat this for two or three more rows, depending on your desired headband width.
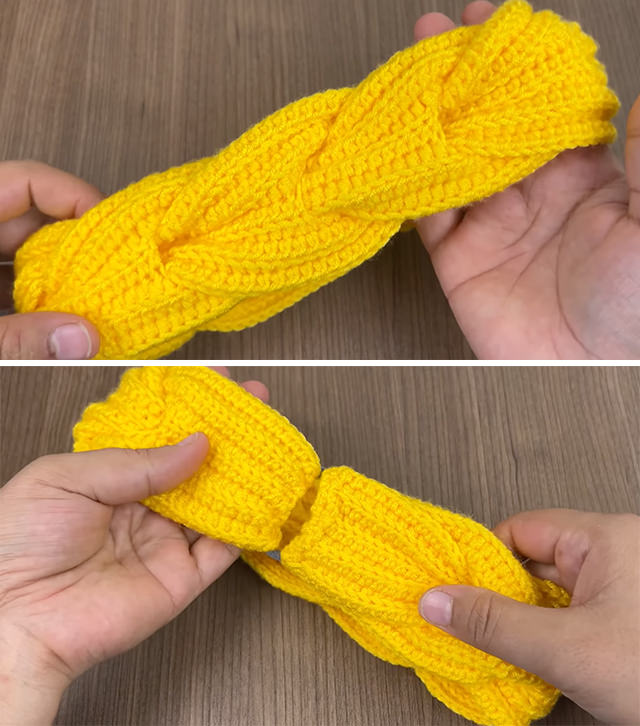
3. Add a Stylish Twist
To achieve a trendy twisted design:
- Flatten the headband, then fold one side inward halfway.
- Align the folded edge with the opposite side and seam them together using slip stitches.
- This creates a fashionable twist effect at the front.
4. Finish Off and Weave Ends
- Fasten off your yarn by pulling it through the last loop.
- Use a tapestry needle to weave in loose ends, ensuring they’re neatly hidden.
Why Make a Crochet Easy Headband?
A crochet easy headband is more than just a simple project. It offers numerous benefits:
- Quick and Beginner-Friendly: Ideal for those just getting started with crochet.
- Customizable: Choose your favorite colors, yarn textures, and stitch patterns.
- Eco-Friendly: Handmade accessories reduce fast fashion waste.
- Personal Gifts: Delight friends and family with a thoughtful, handmade present.
Creative Customizations
Make your crochet easy headband uniquely yours with these fun ideas:
- Play with Colors: Use gradient or variegated yarn for a vibrant look.
- Incorporate Texture: Experiment with stitches like bobble or shell stitches for added dimension.
- Embellishments: Sew on buttons, beads, or small crochet flowers for a personal touch.
- Seasonal Themes: Choose holiday-themed colors or lightweight yarn for summer versions.
Tips for a Professional Finish
- Maintain Consistent Tension: Keep your tension even throughout the project for a polished appearance.
- Measure as You Go: Periodically check the length and width to ensure a perfect fit.
- Block Your Headband: Lightly block your finished headband to enhance stitch definition and overall shape.
- Practice the Twist Seam: Perfecting the twist technique may take a couple of tries, but it’s worth the effort.
Care Instructions
To keep your crochet easy headband looking great:
- Washing: Hand wash with mild detergent and cold water.
- Drying: Lay flat to air dry to maintain shape.
- Storage: Store flat in a dry, clean place.
Why ThisMakes the Perfect Gift
Handmade gifts always stand out, and a crochet easy headband is no exception. It’s thoughtful, customizable, and suitable for recipients of all ages. Pair it with a matching scarf or mittens for a delightful gift set.
So grab your yarn and hook, follow the steps, and craft your way to a stunning DIY headband that showcases your style and skill.
Tutorial and photos of this crochet easy headband by: knitting workshop.