Unlock the beauty of the crochet Alpine stitch, a timeless technique known for its rich texture and reversible design. A true favorite among crafters, this stitch combines simplicity and sophistication. Perfect for beginners, the Alpine stitch relies on foundational skills like single and double crochet, making it an excellent choice for anyone embarking on their crochet adventure.
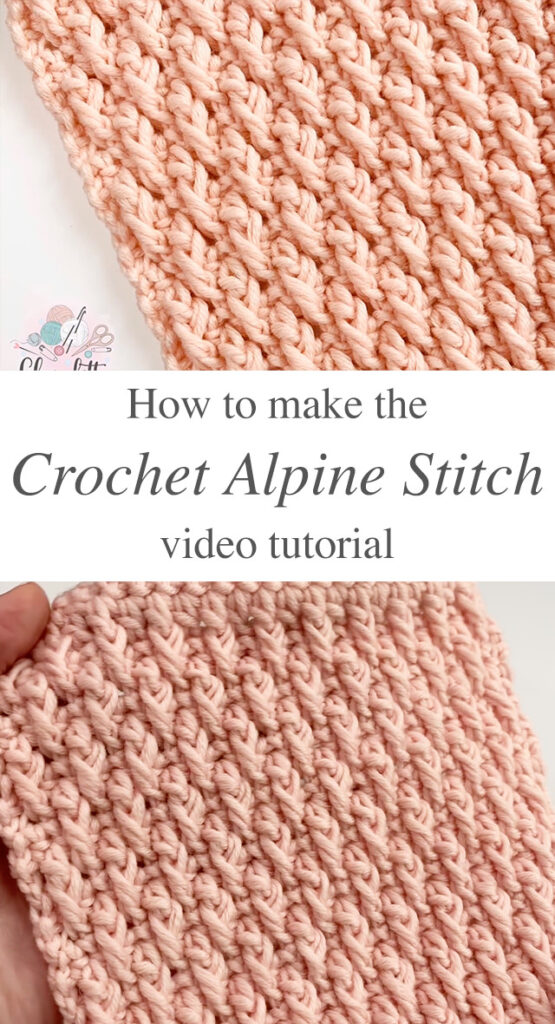
HOW TO MAKE THE CROCHET ALPINE STITCH?
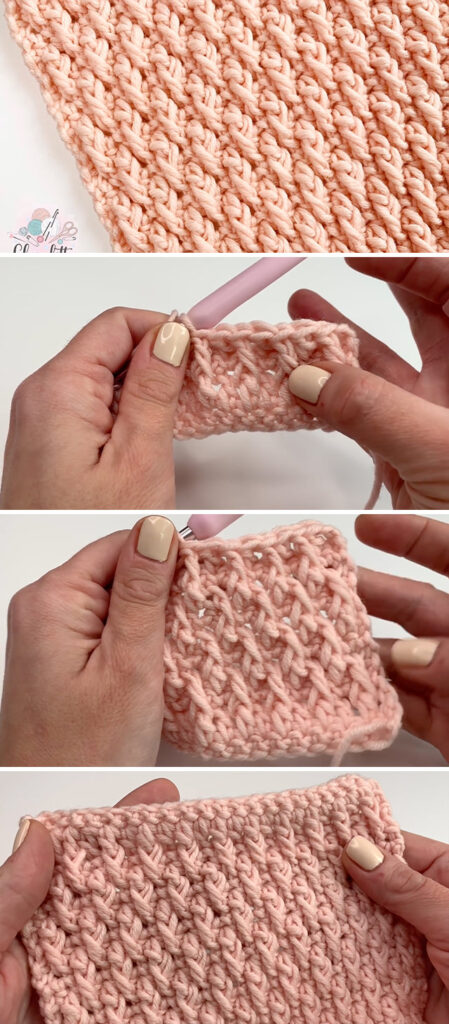
The Alpine Stitch is a stunning and versatile crochet technique, celebrated under various names like the Ripple Stitch, Alternating Double Crochet, Front Post Stitch, or simply the Crochet Alpine Stitch. No matter what you call it, this stitch is a joy to create and adds beautiful texture to any project. To get started, you’ll need size 4 weight yarn, an H crochet hook (4-4.5 mm), a yarn needle, and a pair of scissors. Begin your Alpine Stitch with an odd number of chains, but be sure not to count the turning chain as a stitch.
The textured, raised bumps form a unique diamond pattern, making the crochet Alpine stitch an ideal choice for cozy, cold-weather garments. Its double-sided design adds versatility, allowing you to switch things up by incorporating embellishments on one side while keeping the other simple.
I absolutely adore the texture of this stitch! Its versatility and elegance make it perfect for a wide range of projects, including cardigans, scarves, hats, sweaters, baby blankets, fall jackets, cushion covers, and even book covers.
If you want to make a large alpine stitch of a 12 in size you can chain 41. For a medium sized crochet alpine stitch project such as a book cover, you can chain 27.
And for a small block or a sample size, you can chain 17. The rule of thumb is that 5 rows equals to 2 inches. This will be very important when determining how many rows you will need for a long scarf or for a medium sized sweater.
Enjoy it and comment below if you have any questions!
Video tutorial by: Claudetta Crochet.