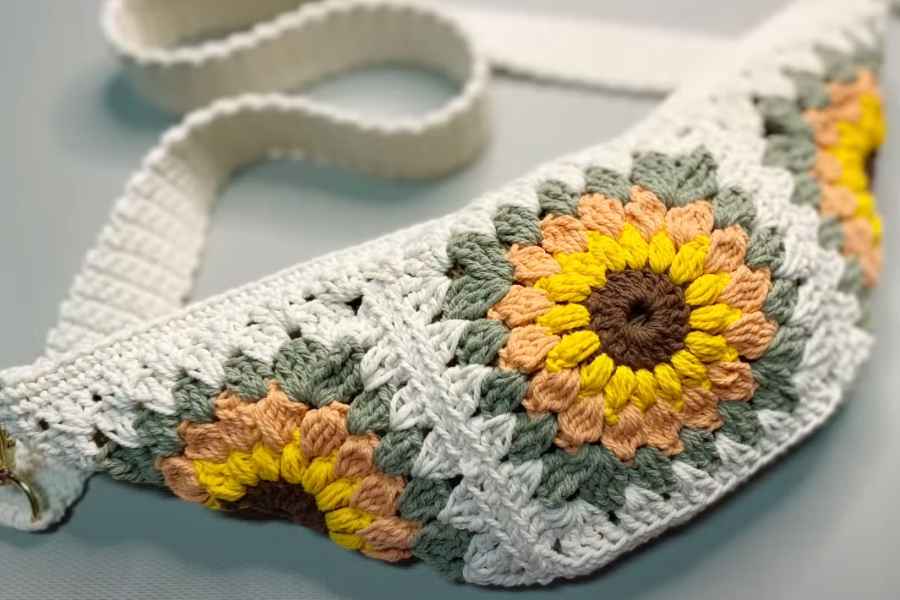
Granny squares aren’t just for blankets—they’re also perfect for stylish accessories like a crossbody bag. A granny square cross bag is trendy, customizable, and surprisingly easy to make. Whether you’re going for a retro vibe or a modern statement, this project is a great way to use your crochet skills to create a functional and fashionable item.
1. Making the Granny Squares
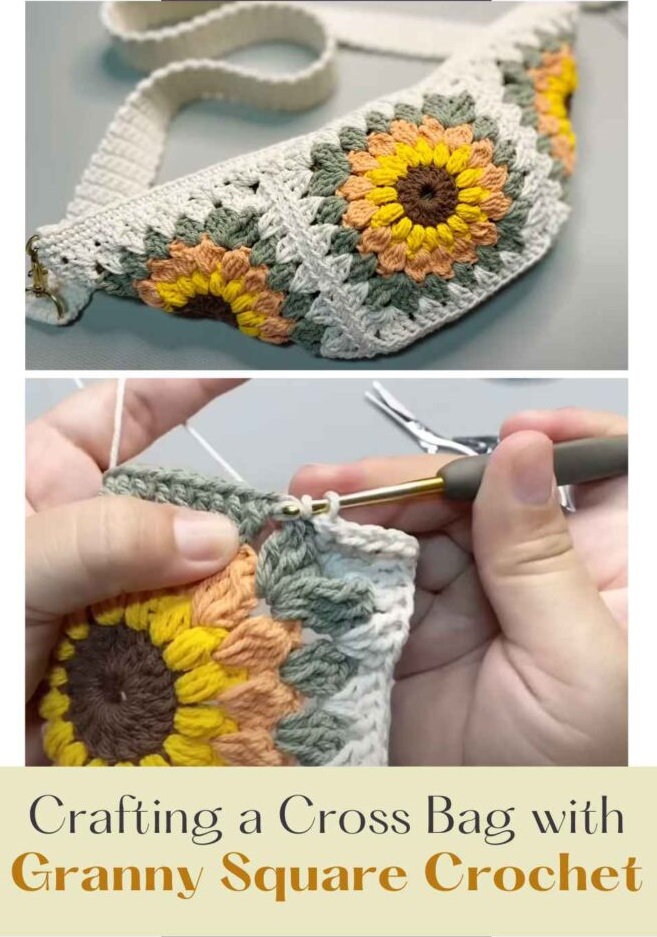
Start by creating the granny squares that will form the front and back panels of your bag. You can use the traditional granny square pattern or experiment with color changes and floral motifs to make your design stand out. Most small bags need about 2 to 8 squares, depending on size and layout. Use sturdy yarn and a tight tension to help your bag hold its shape.
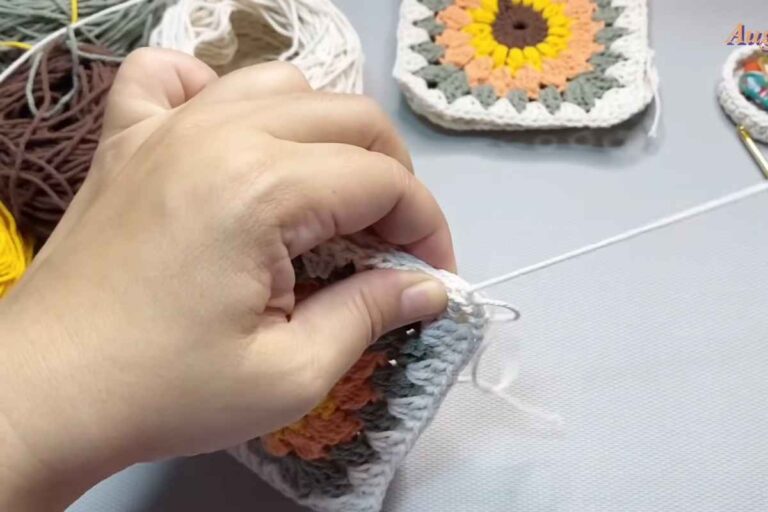
2. Assembling the Bag Body
Once your squares are ready, arrange them into the shape you want—typically a rectangle or square. Join them using slip stitches or single crochet to form the body of the bag. You can crochet a separate strip for the bottom and sides or simply fold and seam the panels. Be sure the seams are firm, as this adds structure to the finished bag.
3. Adding the Strap and Finishing Touches
The strap can be crocheted as a long, flat band or a thick cord. For extra strength, you might line it with fabric or double it. Attach it securely to the top corners of the bag. Finish off by adding a button, zipper, or drawstring closure. Optional touches like a lining, tassels, or edging can personalize the bag and give it a polished look.
Conclusion
A granny square cross bag is a perfect blend of creativity and practicality. It’s a fun way to repurpose classic motifs into something fresh and wearable. Whether you’re a beginner or an experienced crocheter, this project is a satisfying way to craft something beautiful and useful with just a few squares and a bit of imagination.
Pattern and tutorial by August Craft & Crochet