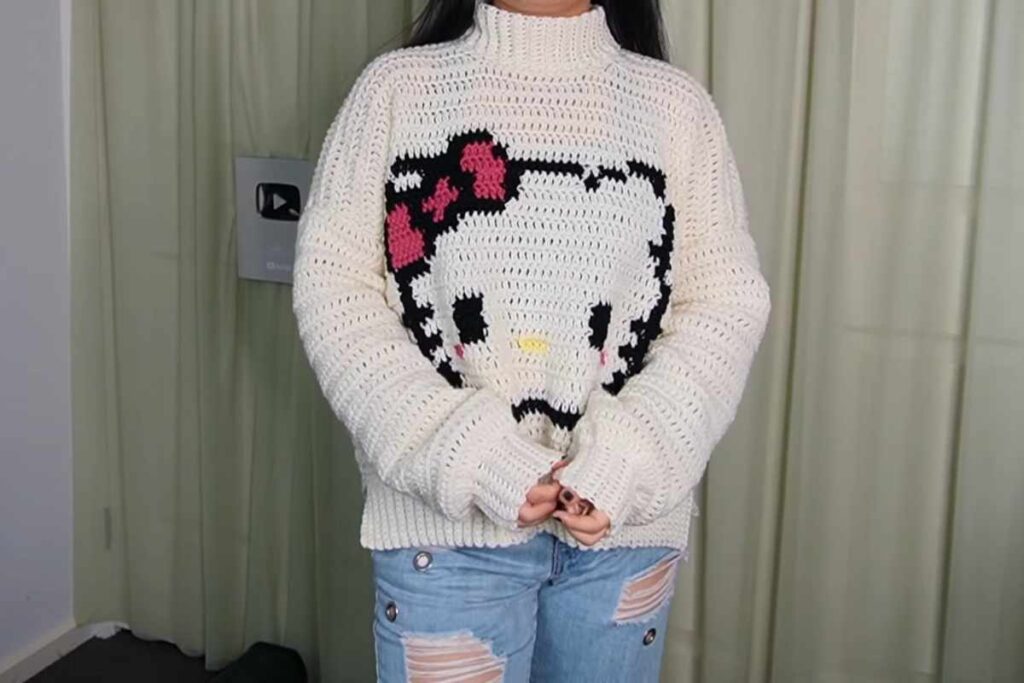
This fun crochet sweater project is perfect for both beginners and seasoned crafters who want to create something playful, fashionable, and totally unique. Whether it’s for yourself, a gift, or a statement piece, this project lets you blend creativity with comfort.
Process (3 Points)
- Design & Planning
Start by choosing your sweater pattern—simple pullover or cardigan styles work best. Decide where you want Hello Kitty’s face or figure on the sweater (front center, pocket, or sleeve). Sketch or visualize the layout and pick colors to match the Hello Kitty theme: classic white, pink, red, and yellow. - Crochet the Base Sweater
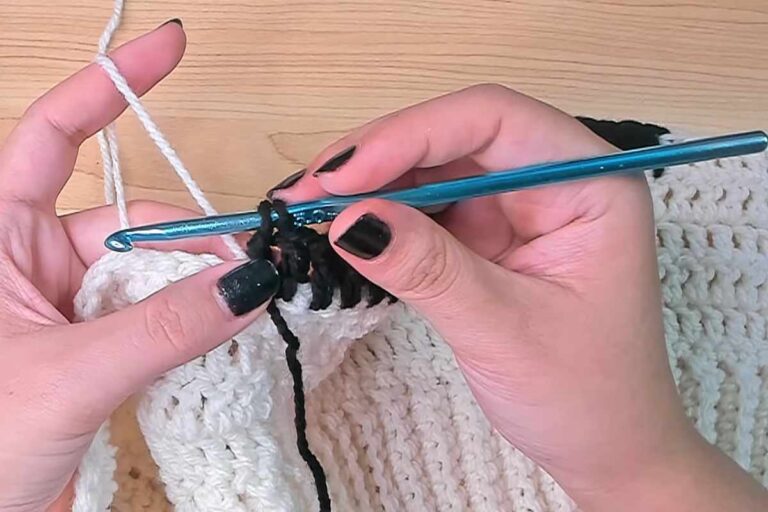
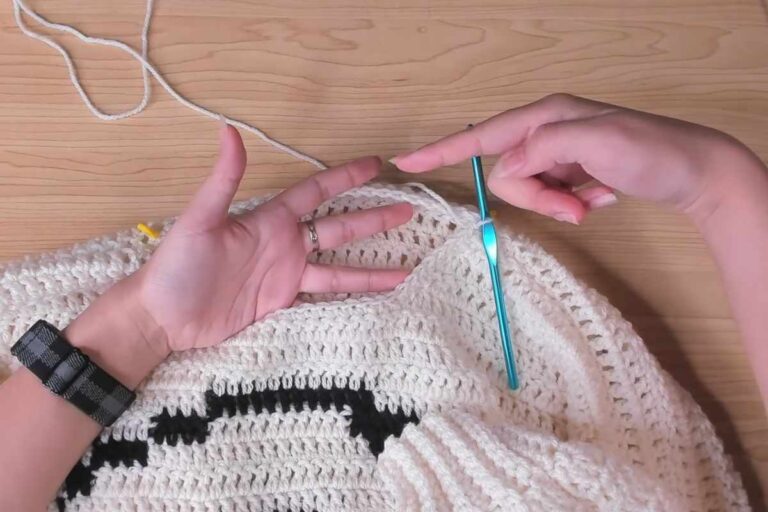
Use a soft yarn and follow your chosen sweater pattern. Work each piece (front, back, and sleeves) separately, maintaining clean and even stitches. If you’re new to garment-making, start with a simple rectangle-based sweater to make shaping easier. - Add the Hello Kitty Design
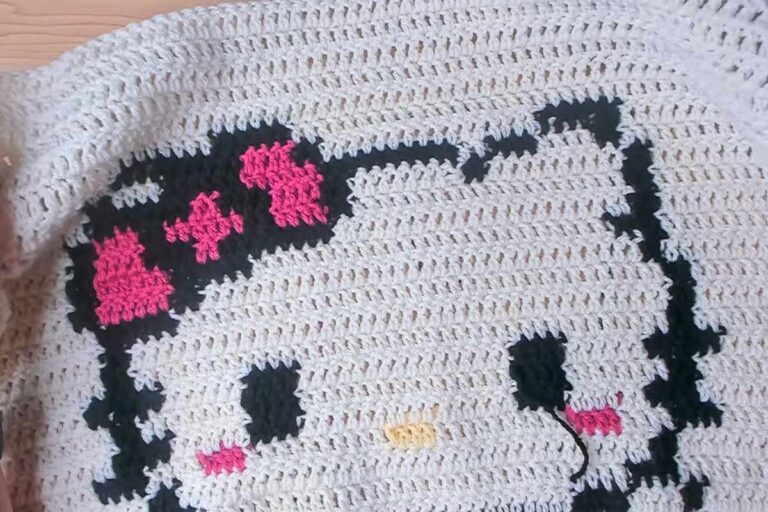
Once the sweater is complete, it’s time to bring Hello Kitty to life! You can either:- Crochet a Hello Kitty appliqué and sew it onto the sweater,
- Use tapestry crochet to build the character directly into the fabric, or
- Add felt or embroidered facial features for extra texture and fun.
Materials Needed
- Worsted weight yarn in white, pink, red, yellow, and black
- Crochet hooks (size appropriate for yarn, usually 4mm–5mm)
- Yarn needle for sewing pieces together
- Stitch markers and scissors
- Pattern for the sweater and Hello Kitty motif (optional: graph paper for design layout)
Conclusion
Crocheting your own Hello Kitty sweater is more than just a crafting activity—it’s a creative expression of personality and nostalgia. With some basic materials and a bit of time, you can wear (or gift) a handmade piece that’s as adorable as it is cozy. So grab your yarn and hook, and bring Hello Kitty to life one stitch at a time!
Images and patterns courtesy of Cherilyn Q